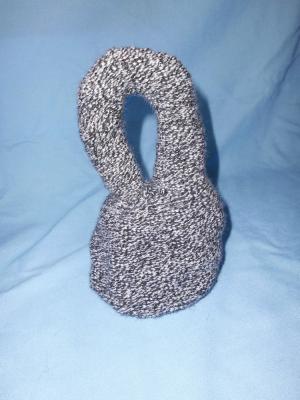
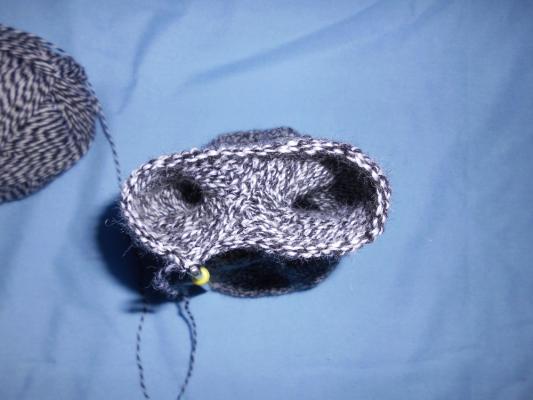
These crocheted bags have the shape of Klein bottles:
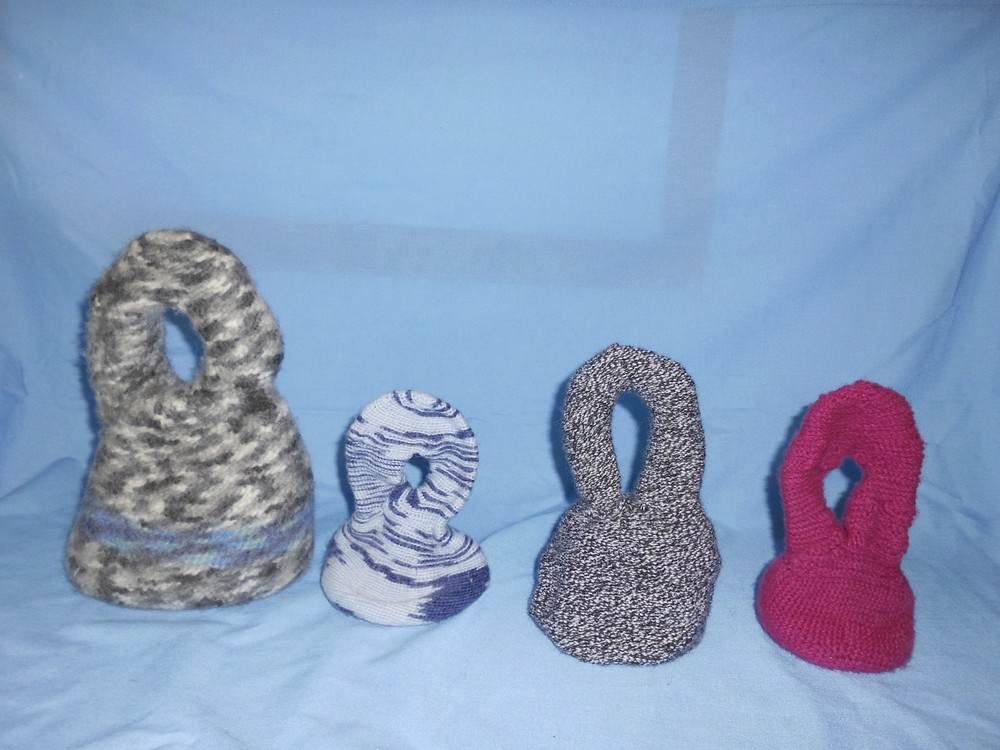
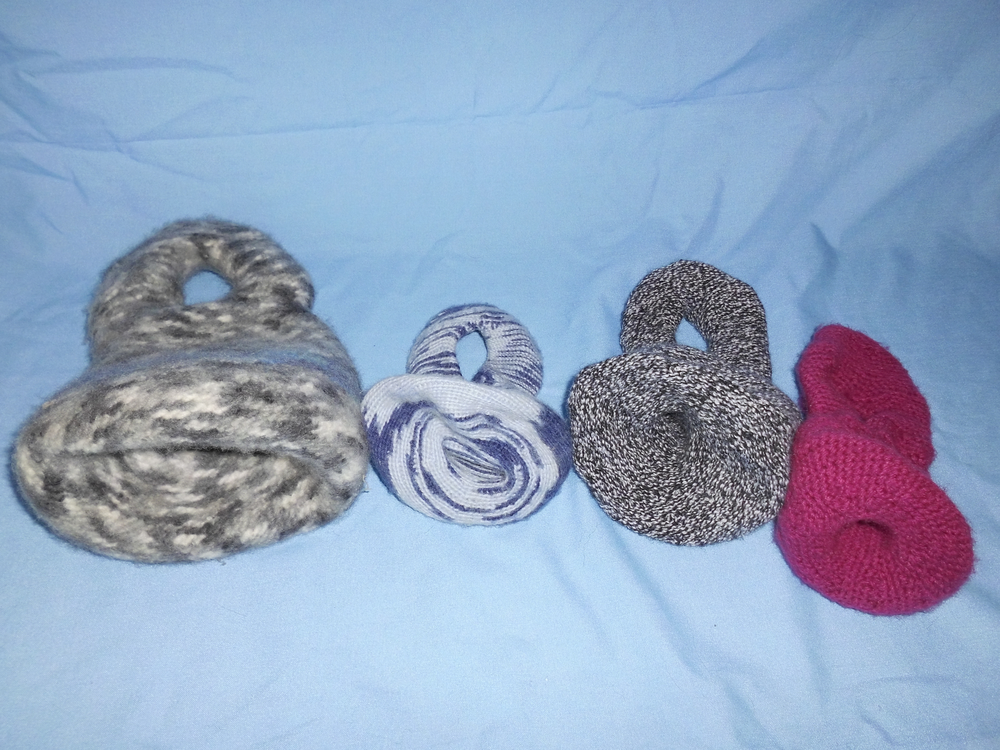
Actually, they are immersions of the Klein bottle in three dimensional space where a disk has been left out at the location of self intersection, so that one can access the interior of the bag through the hole in the bottom.
Instructions
-
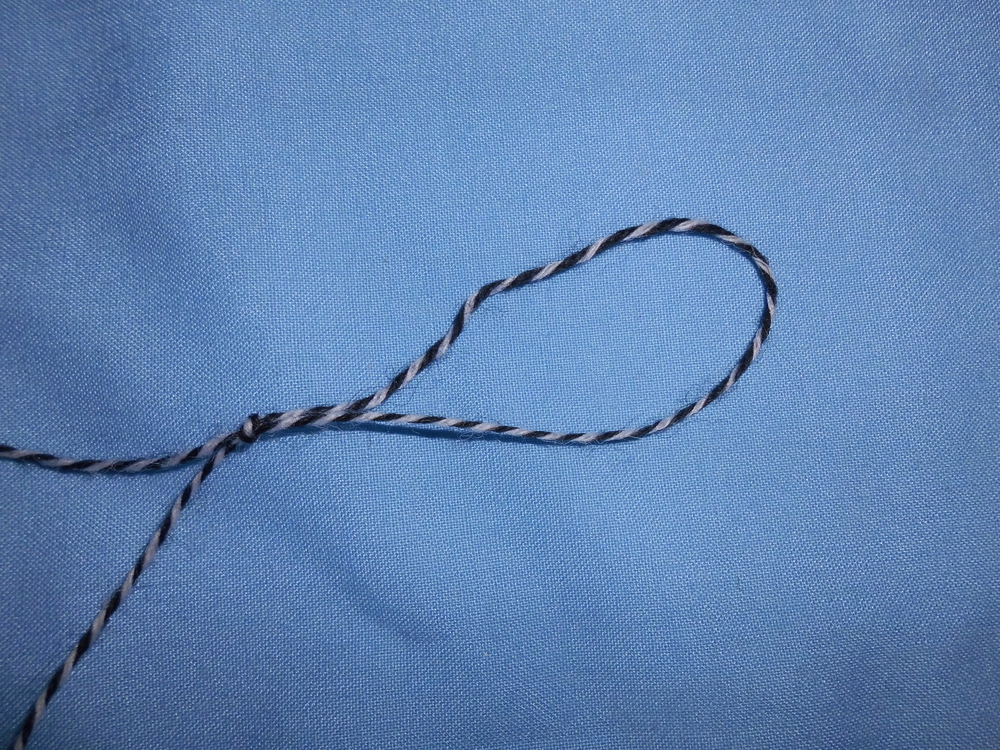
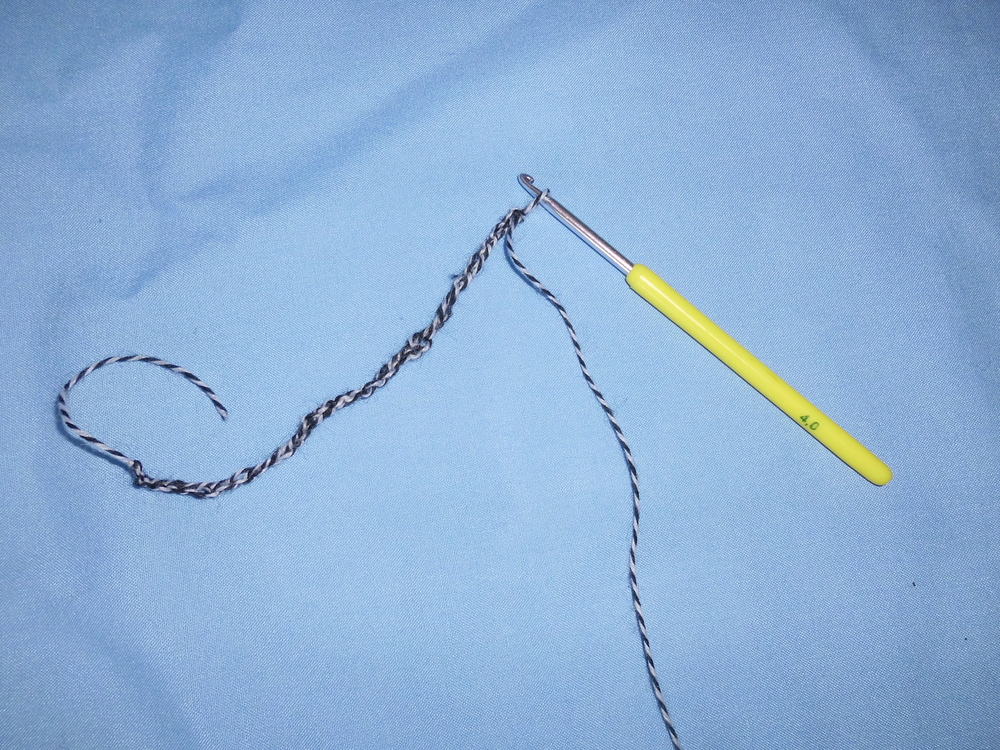
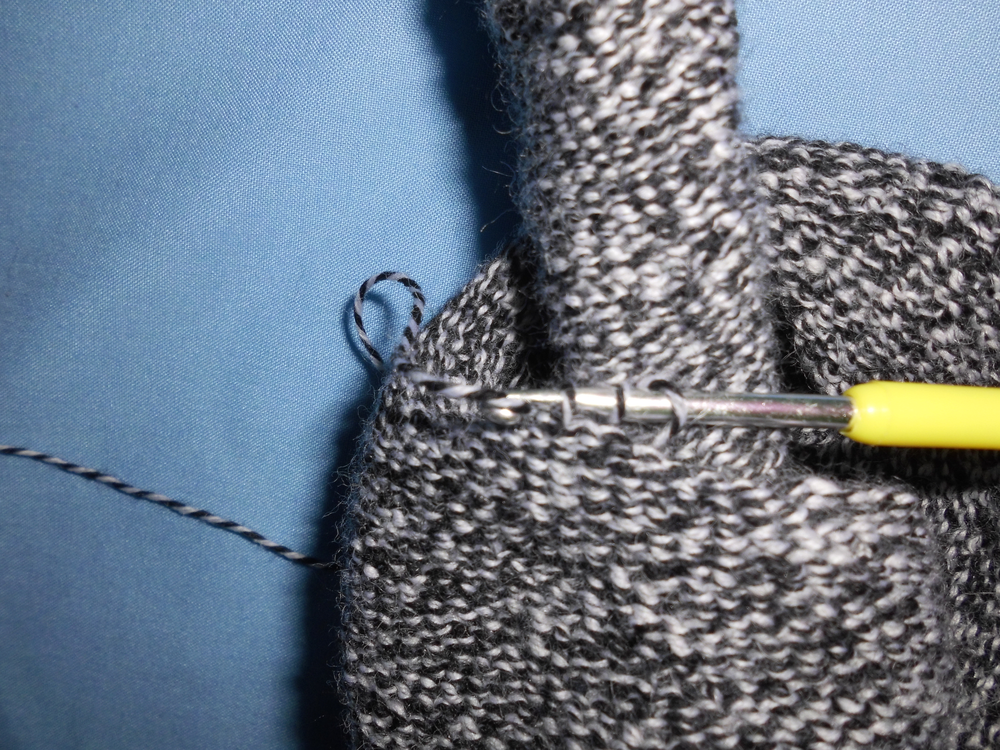
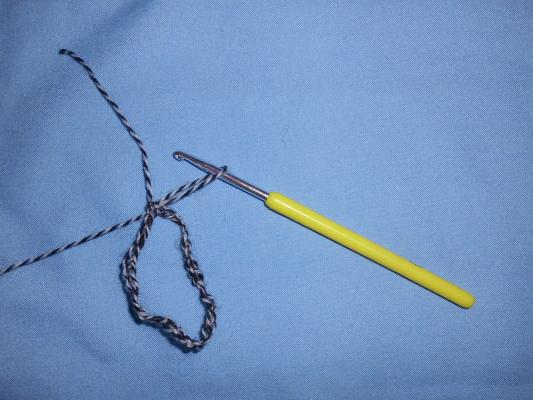
Take some yarn and make a slipped overhand knot:
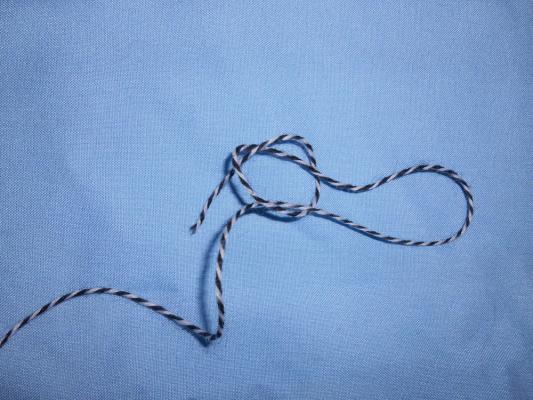
Tighten it, but not the loop:

-
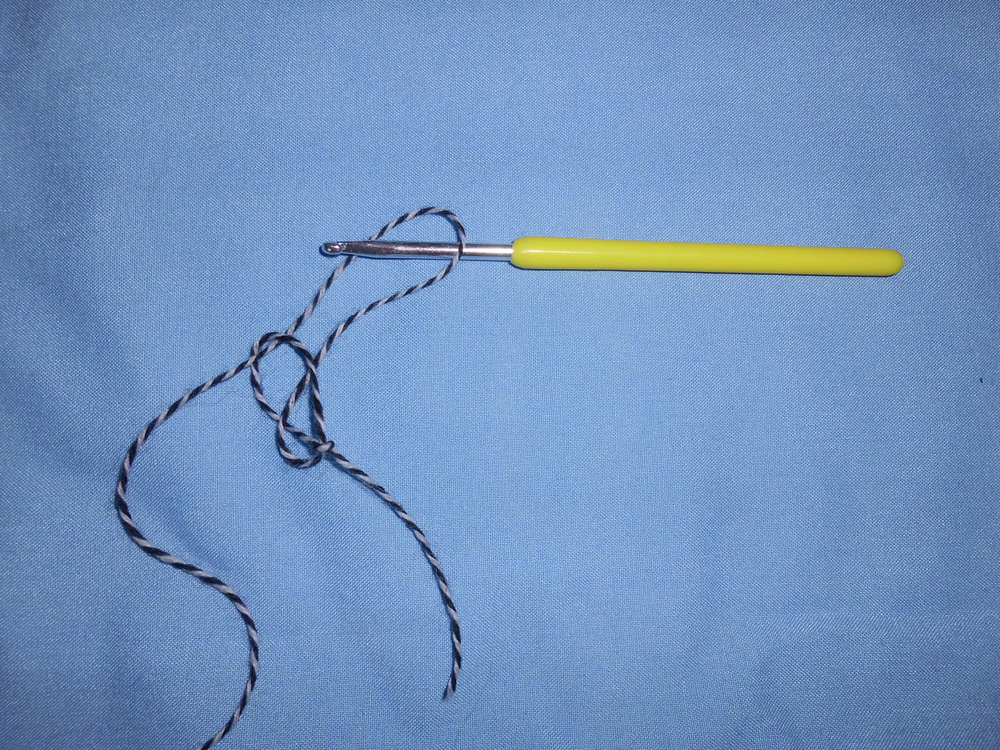
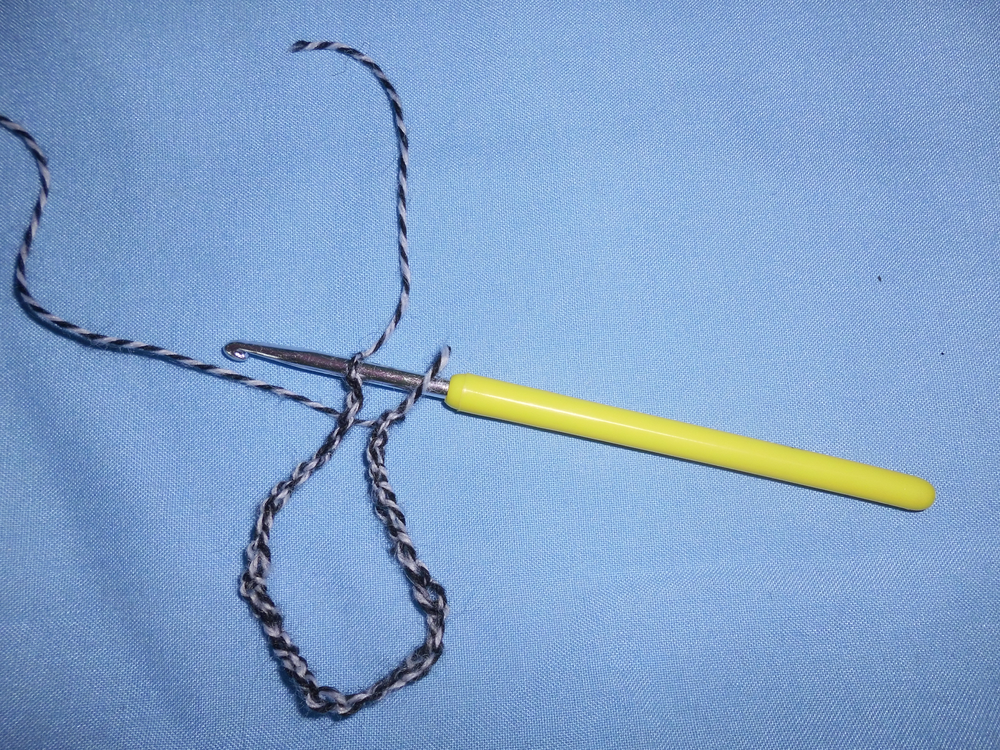
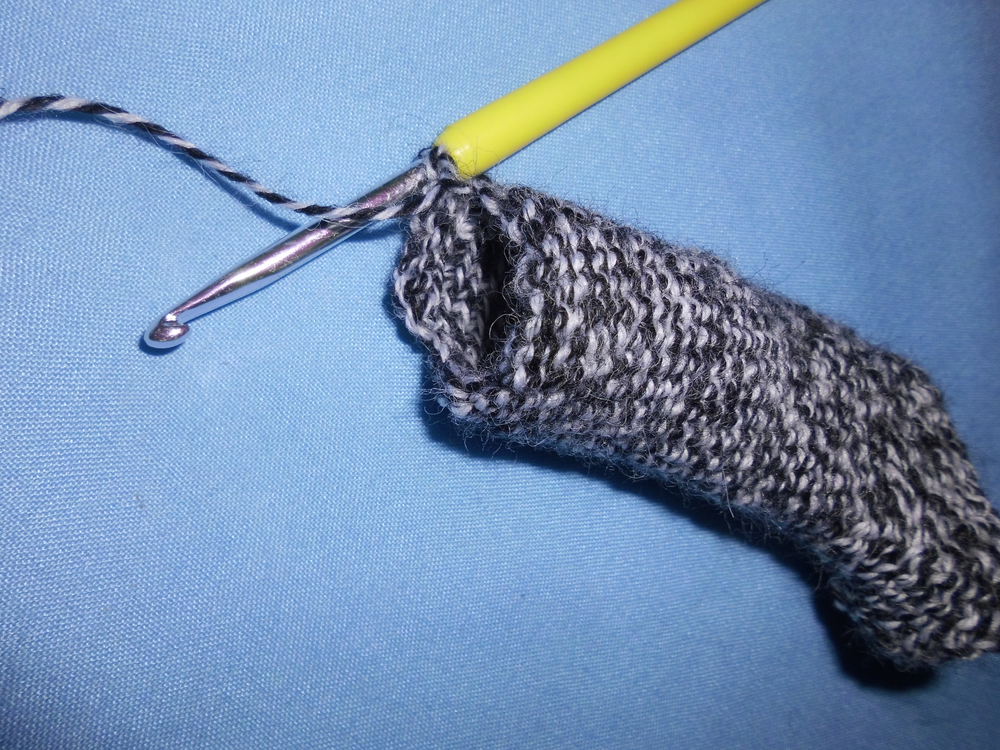
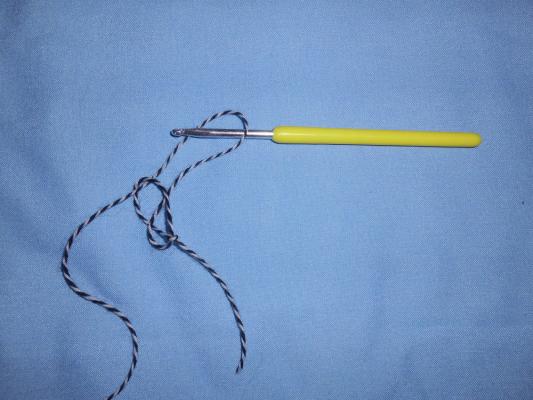
Use the crochet hook to pull the thread through the loop:
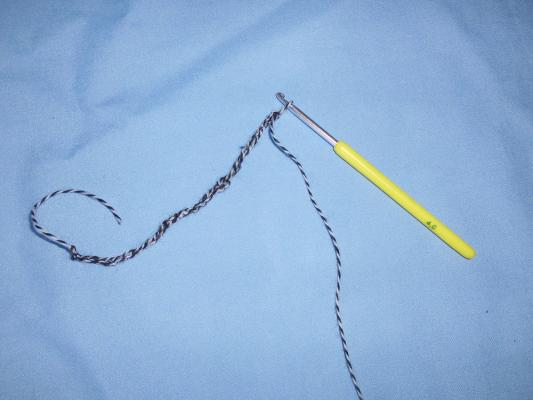
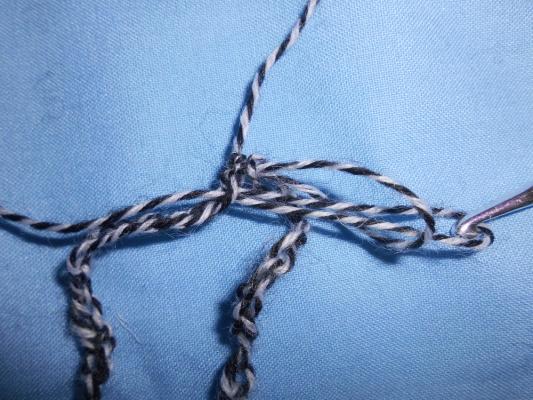
Now pull the first loop closed, but not too tight. This is the first chain stitch. The crochet hook always stays in the loop made last. -
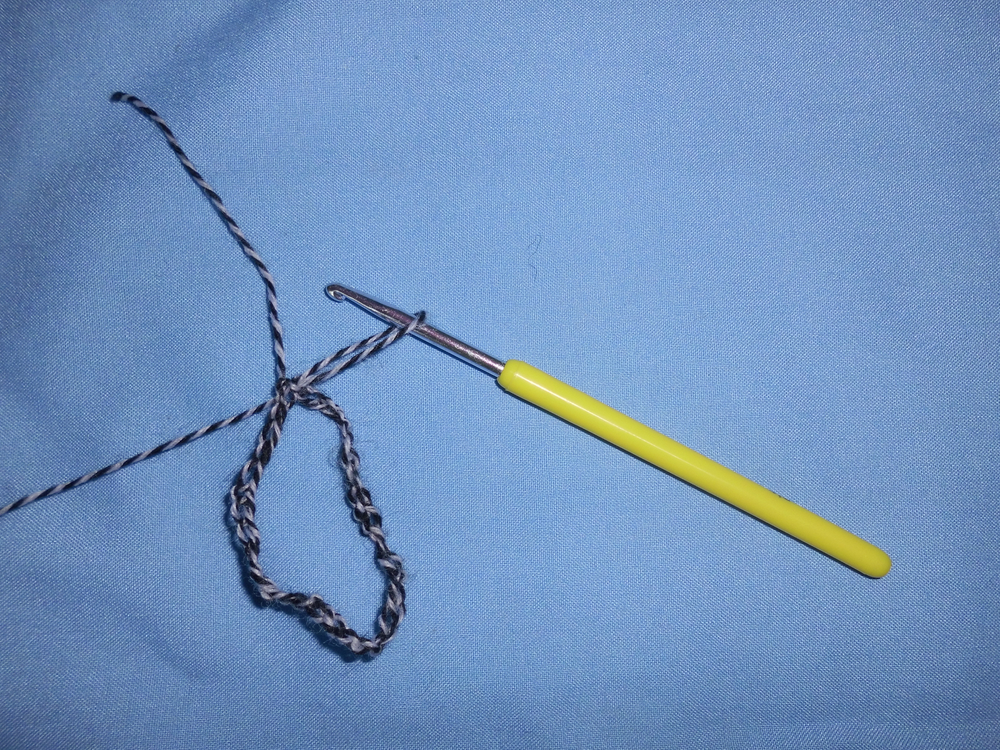
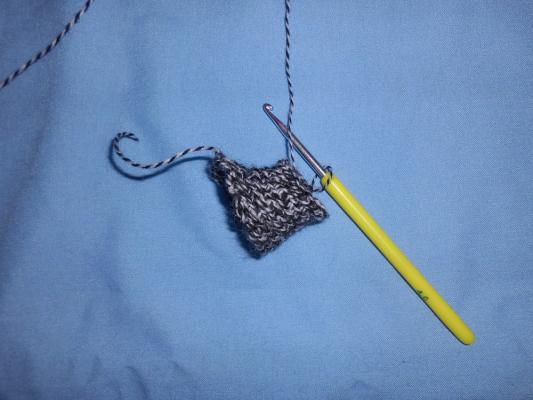
Crochet a whole chain of chain stitches:
-
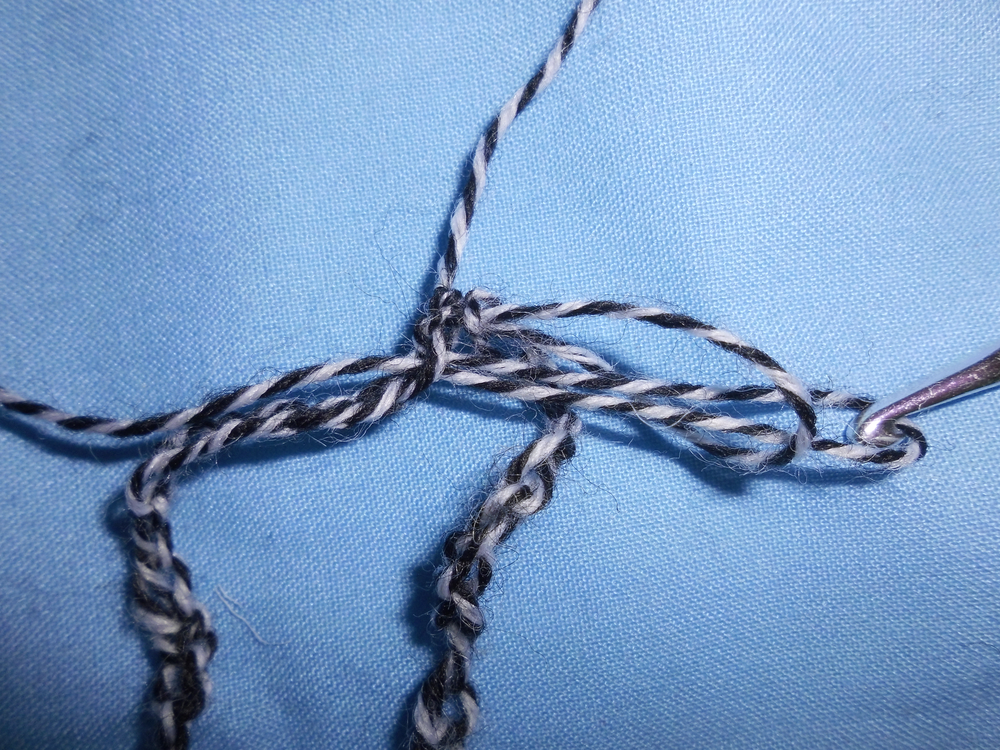
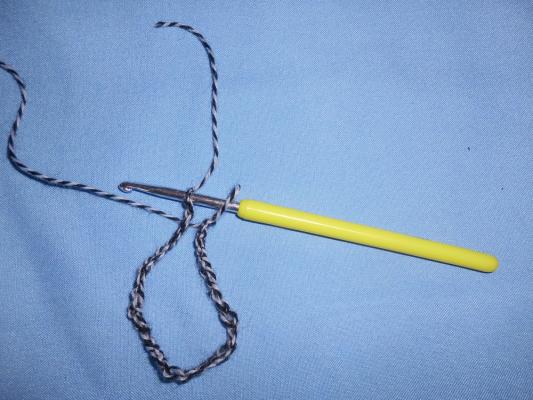
As soon as the chain is somewhat longer than the intended circumference of the bag's neck, it is closed to form a circle.
For this, insert the hook through the first chain stitch...
-
... and pull the thread through both loops:
-
To make the next stitch, insert the hook into the next loop of the previous row and again pull the the thread through both loops:
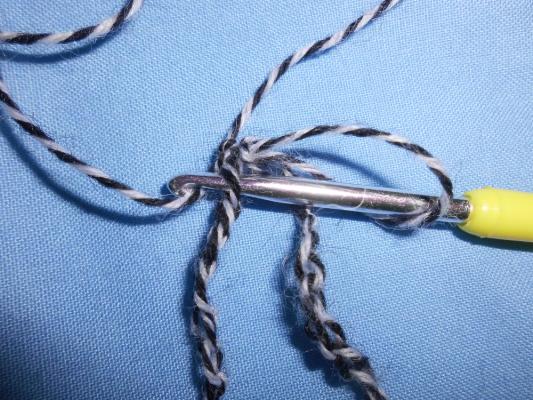
-
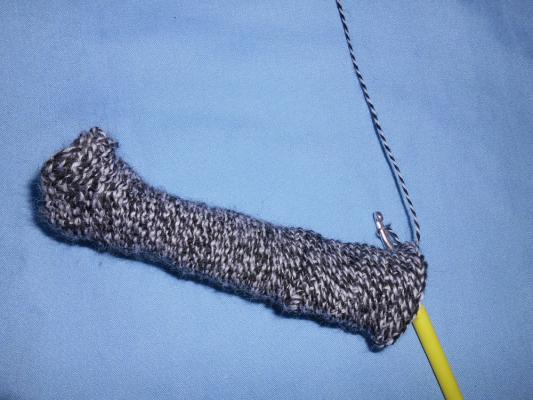
Repeat this so that a cylinder develops. You should skip a loop of the previous row from time to time, especially at the beginning, so that the circumference
of the cylinder decreases until the desired neck diameter is reached. The skipped loops should be all on the same side of the cylinder, for example below
the starting position, so that a protrusion forms. This protrusion will later belong to the lower part of the curve of the neck:
-
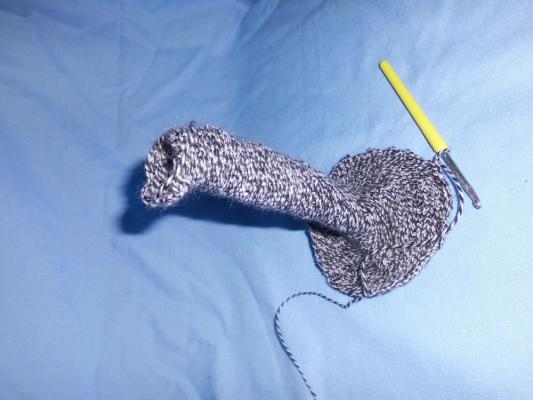
continue crocheting the cylinder with constant circumference until you reach a position that will later not be outwardly visible.
There you should switch the crocheting direction by turning the cylinder inside out and crocheting back on top of the loops you just made:

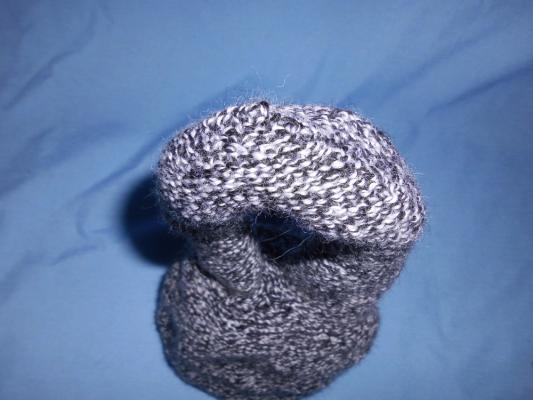
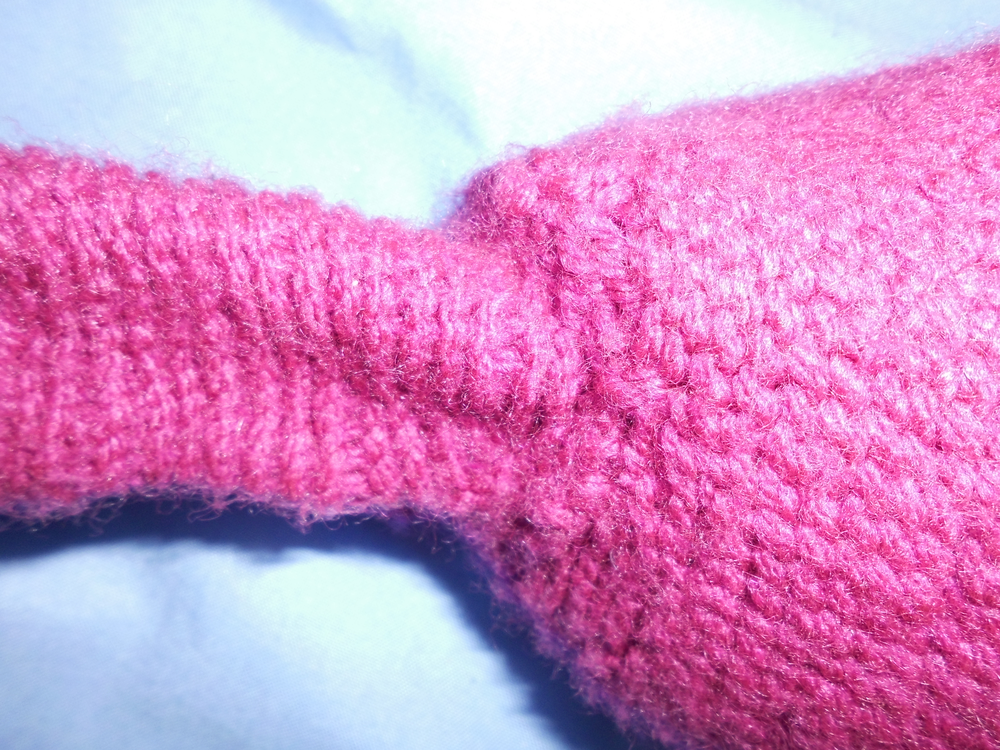
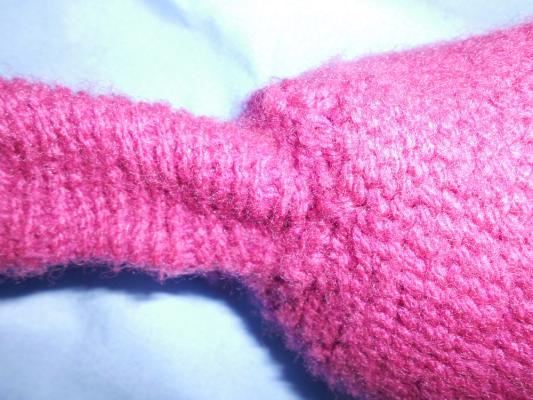
If you do not do that, there will later be a visible discontinuity of the crochet pattern because the Klein bottle is nonorientable, so at some place the left side and the right side have to lie next to each other. In the following picture of a different Klein bag, where I did not change the crocheting direction, one can see how two different structures clash at the location of the self intersection:
-
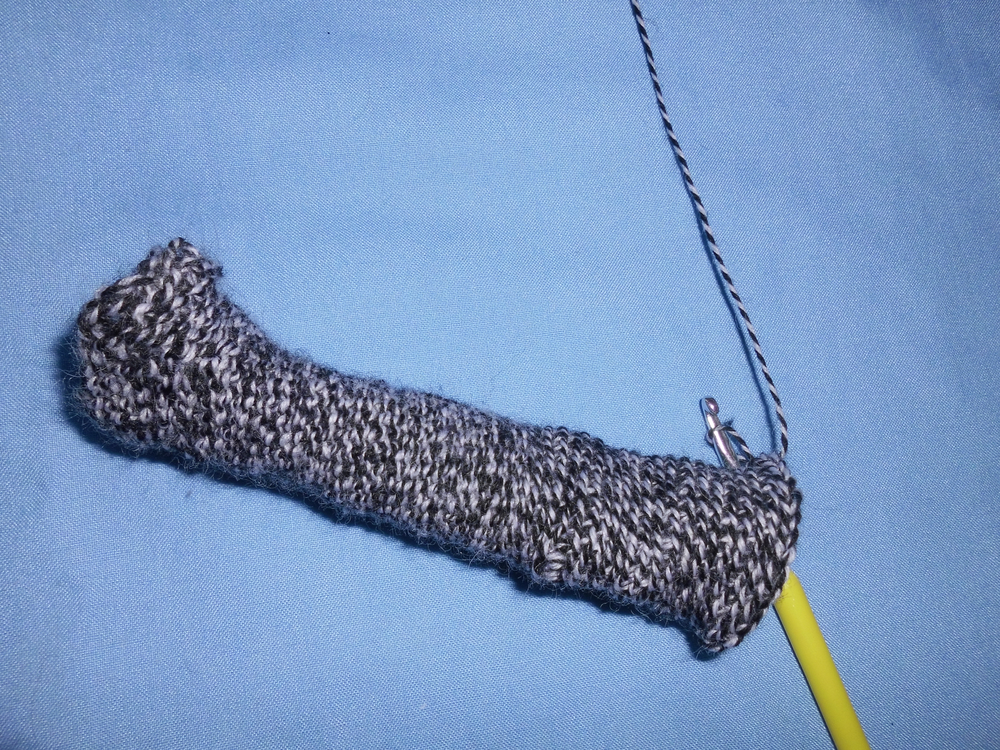
Continue the cylinder until the desired length is reached:
-
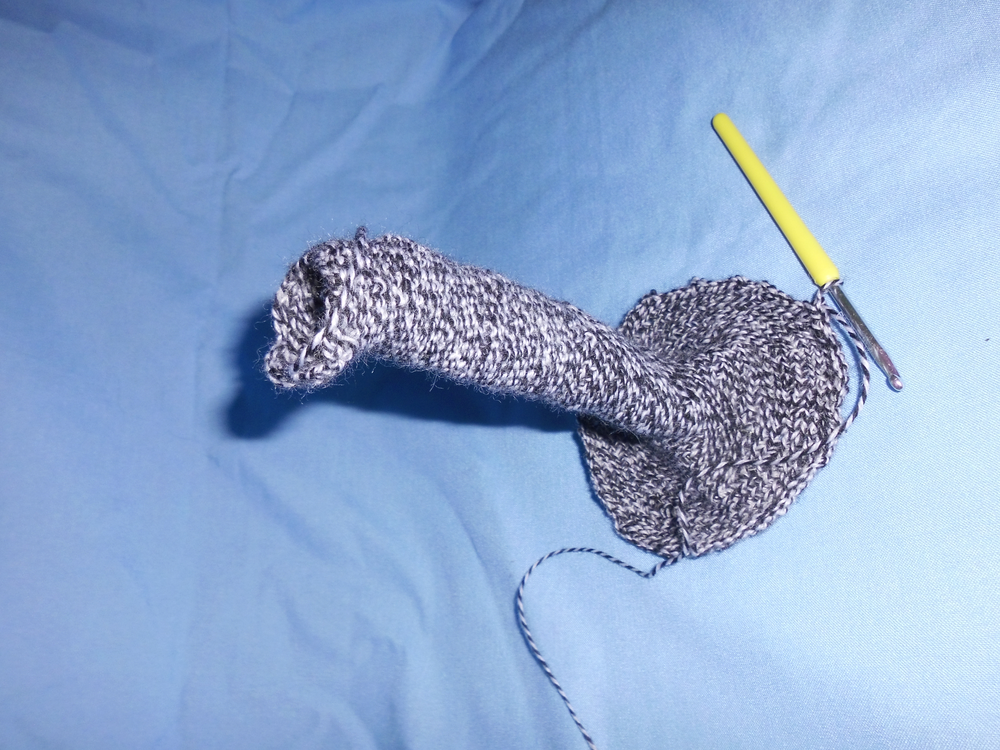
Then, start inserting about 6.5 chain stitches per turn, so that the diameter grows evenly and the bottom of the bag forms:
-
When the bottom has reached the desired diameter, stop inserting chain stitches. Thus the outer wall of the bag develops:
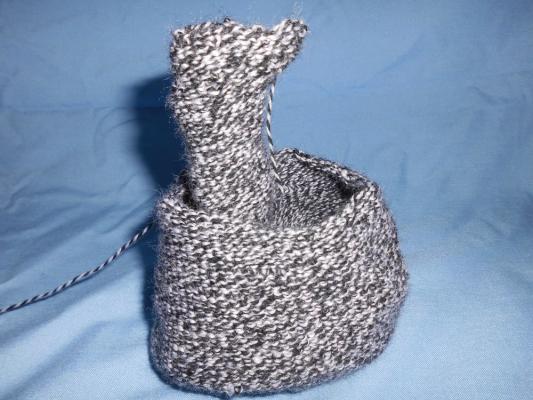
-
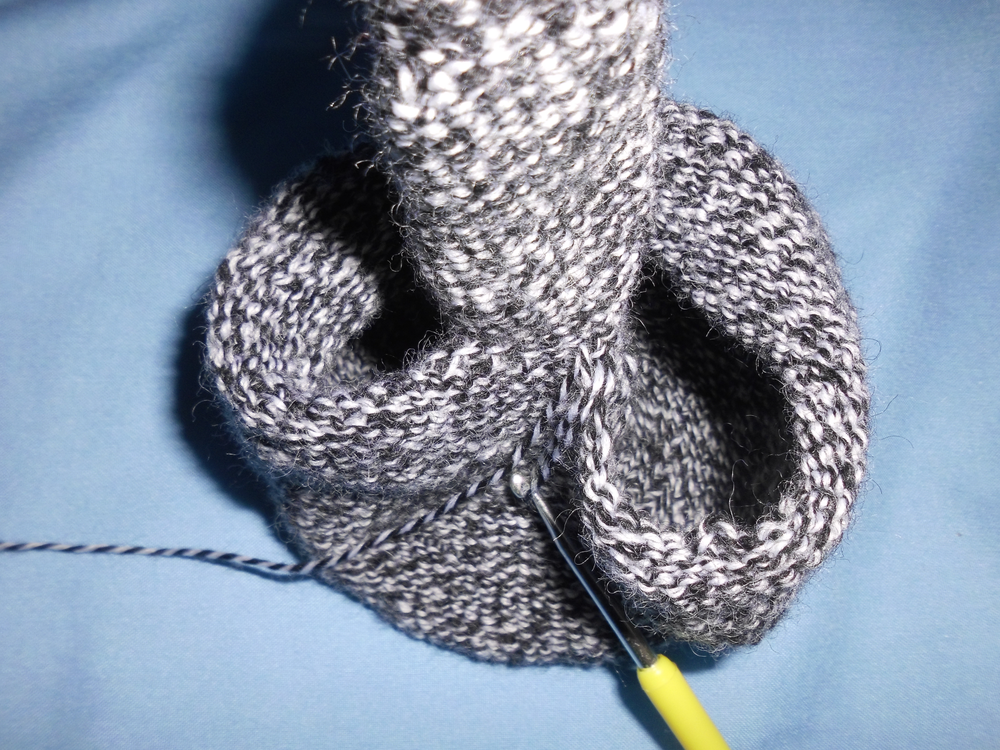
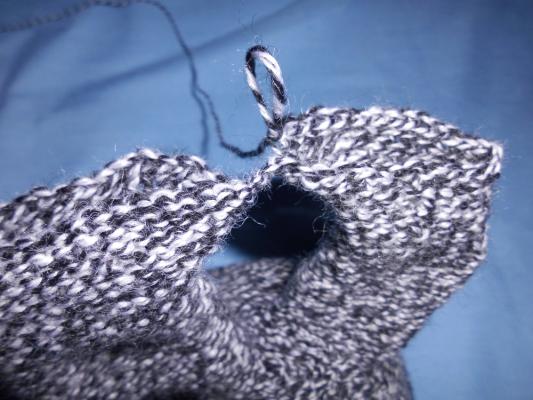
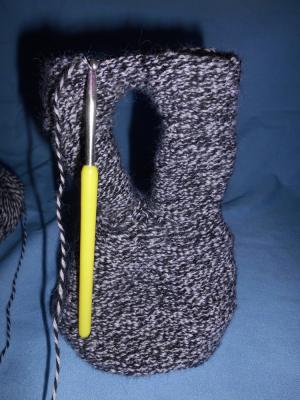
When the wall is high enough, stitch it to the inner cylinder, opposite to the location where the protrusion is.
To do that, insert the hook through a loop in the cylinder wall before putting it through the loop of the previous row, so that you have three loops on the hook:

Then pull the thread through all three loops. Overall, make a few of these stitches:

-
After that, continue normally until you get again to the place where the cylinder was joined to the wall. There, crochet along the exposed side of the cylinder
by inserting the hook through a loop in the cylinder wall and then pulling the thread through both loops on the hook:

Thus a row of loops forms, on top of which you can crochet along in the next turn. -
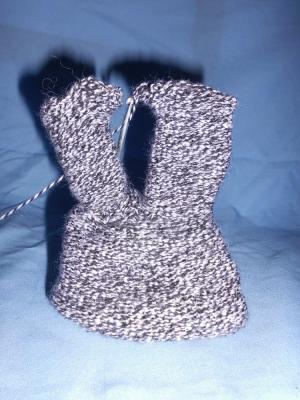
Crochet further in circles, but when you get to the corners, skip loops from the previous row, lest the fabric pucker and so that the diameter of the hole decreases
further until the desired width of the neck of the bag is reached:
-
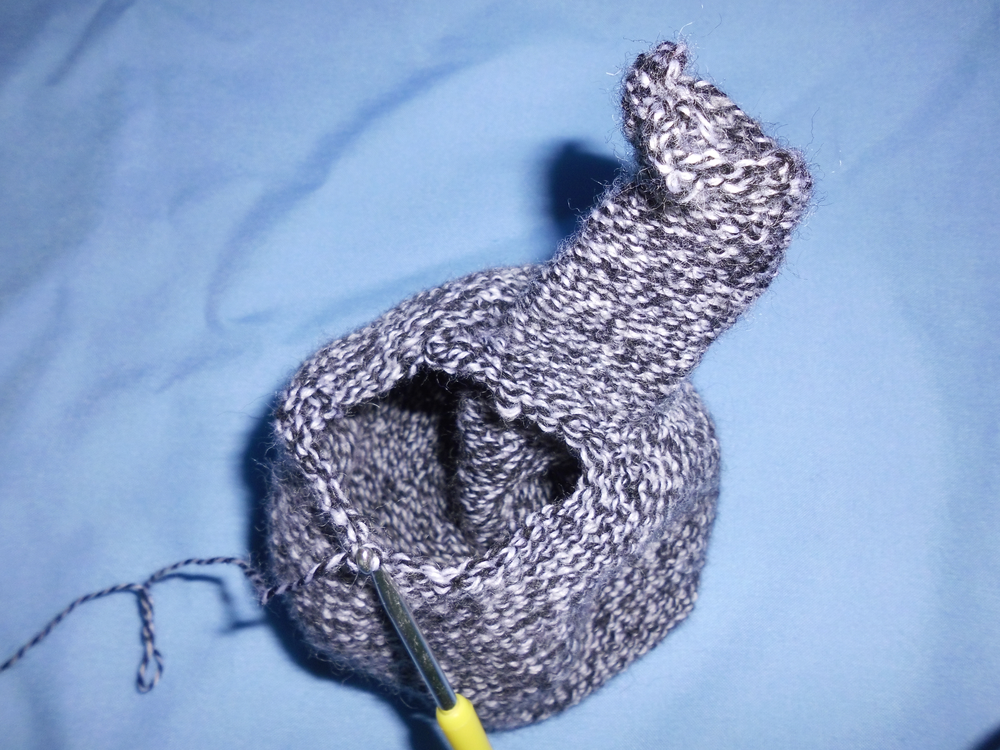
Then you stop skipping loops and continue at constant circumference until you get to the height where the protrusion of the first cylinder begins:
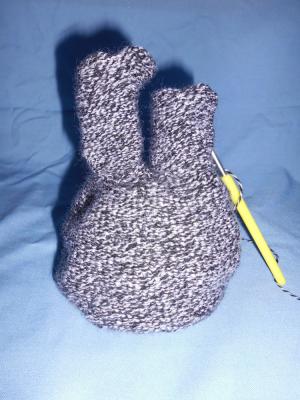
-
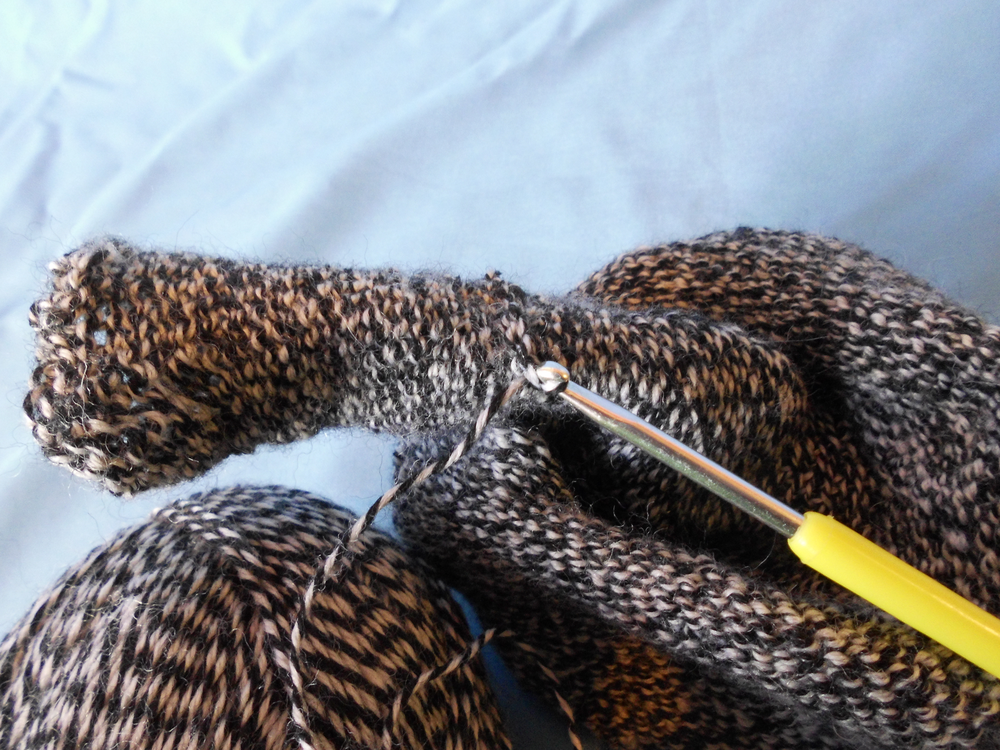
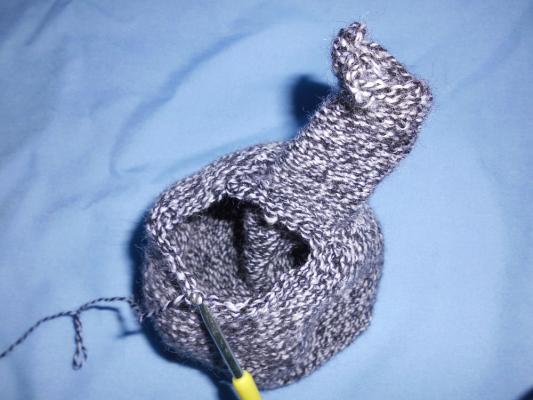
From there on, insert chain stitches on the side facing the protrusion, so that a second protrusion forms:
-
Both protrusions are joined by changing over to the other rim at the point of contact of the two protrusions, crocheting one turn on the other rim and
then changing back:
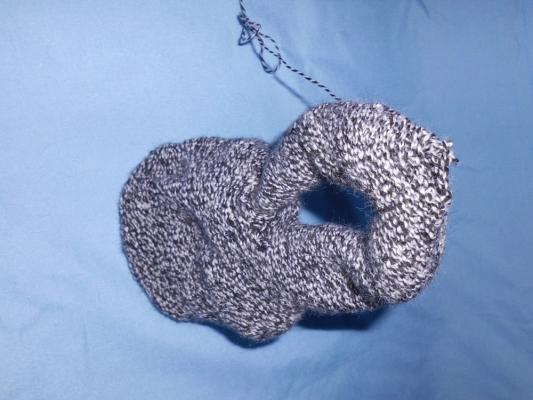
Thus the two rims become a single one. -
Crochet along on the united rim. While doing that, from time to time skip a loop of the previous row when near the point of contact of the two rims, so that a transition
from the
8
-shaped rim to a0
-shaped rim develops:
-
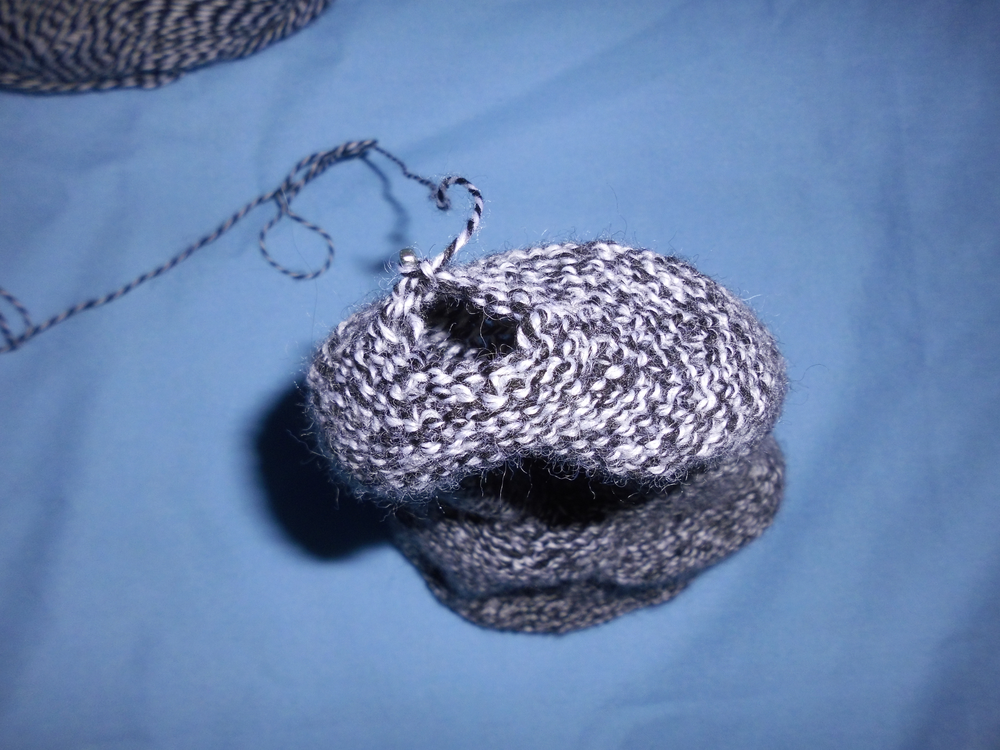
At first only at the locations lying furthest out on the rim, then everywhere, skip loops in order to contract the rim into an ever smaller circle:
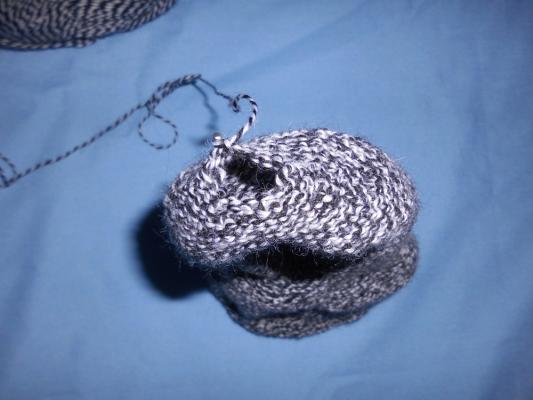
-
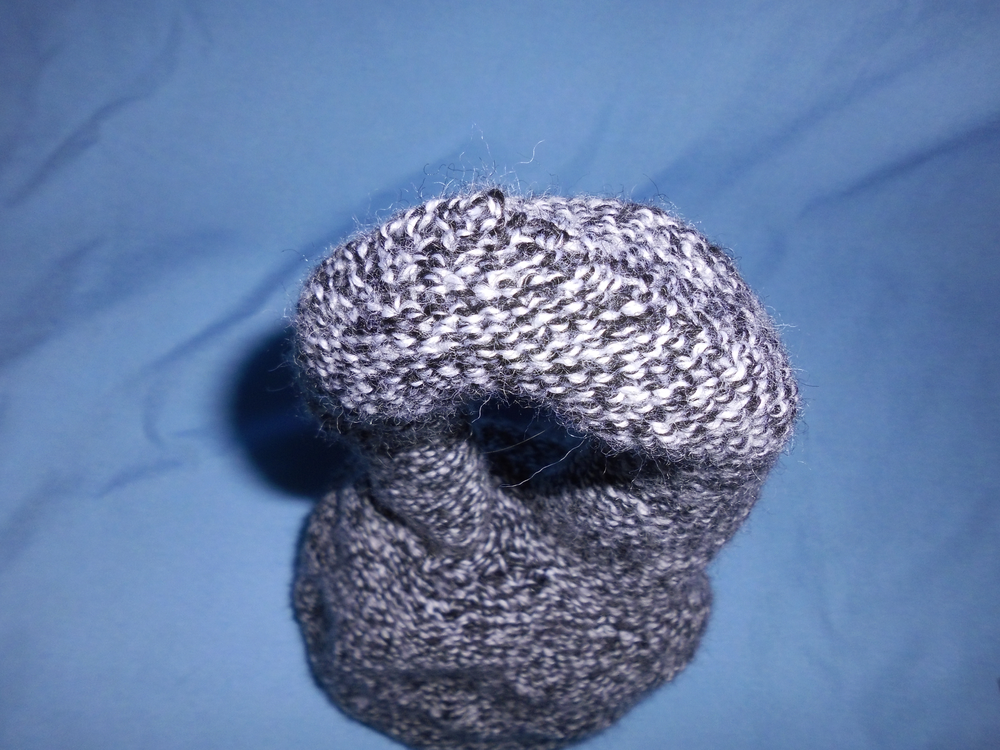
Finally, skip every second loop, so that the circular rim contracts into a point:
-
Cut the thread and you're done!