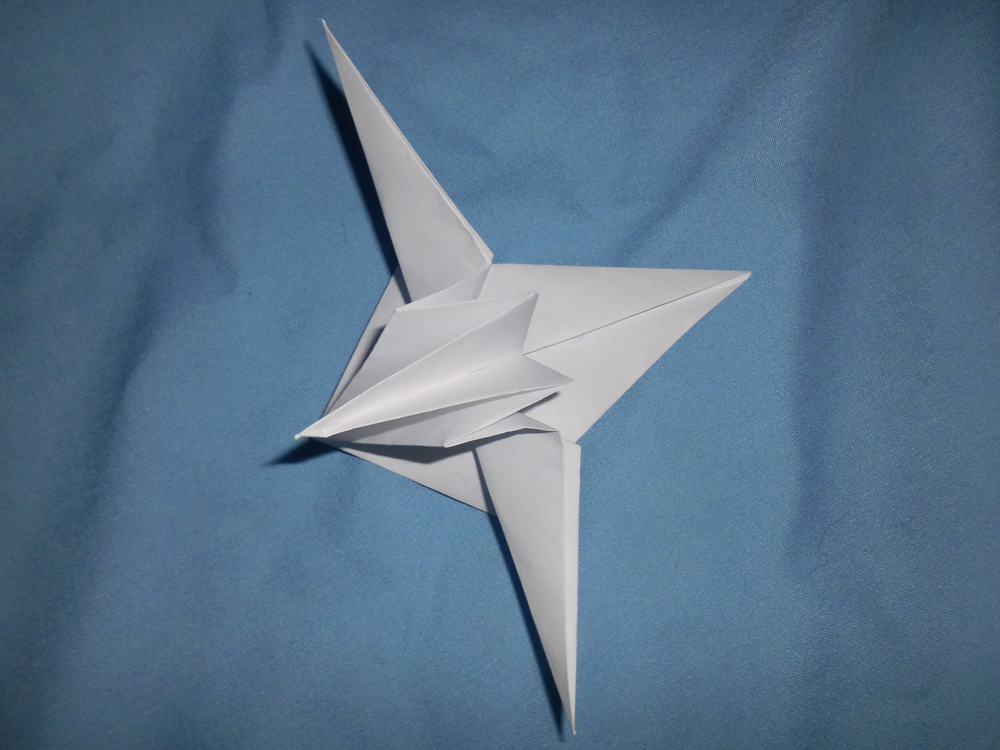
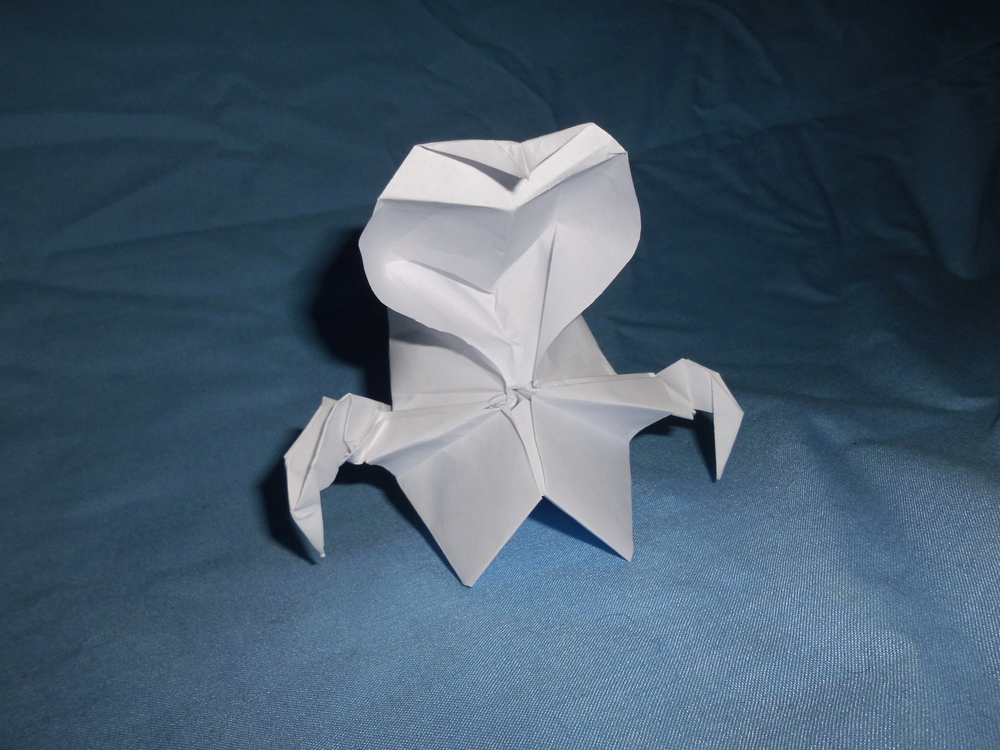
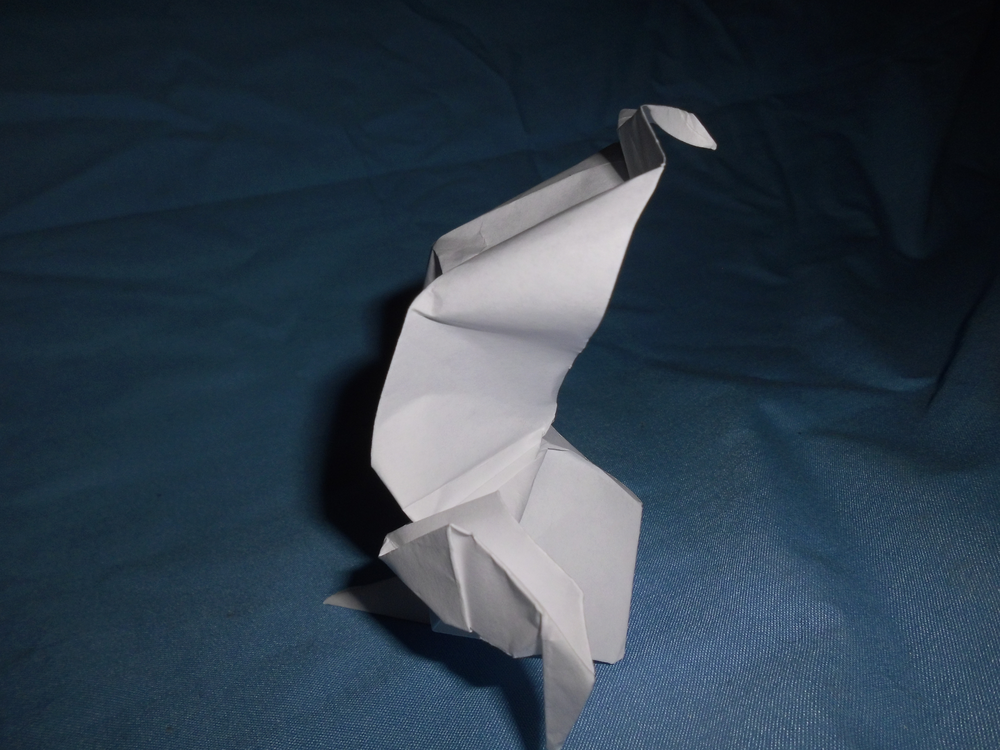
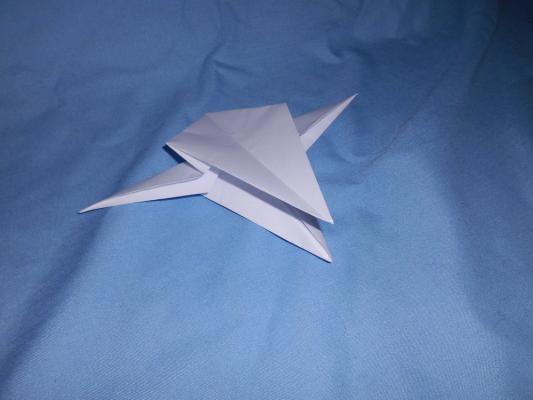
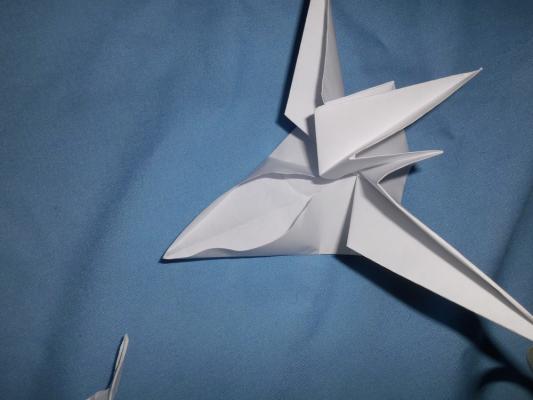
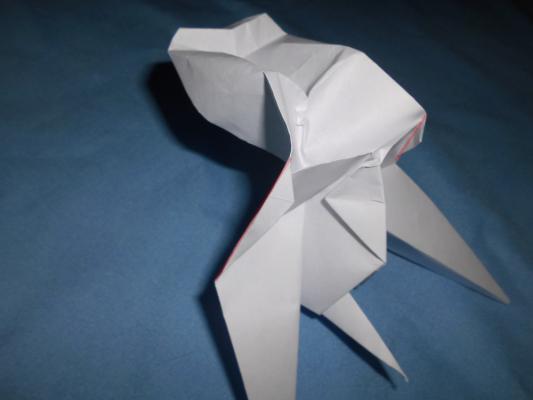
The proportions are not quite right, but this is supposed to be a hydralisk:
Instructions
-
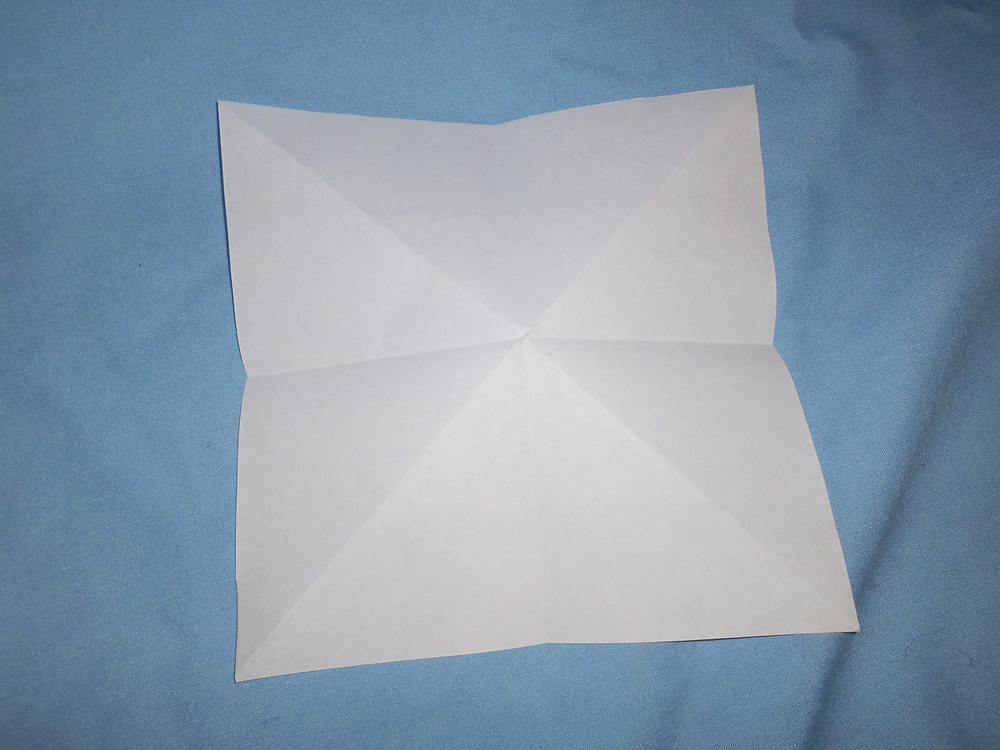
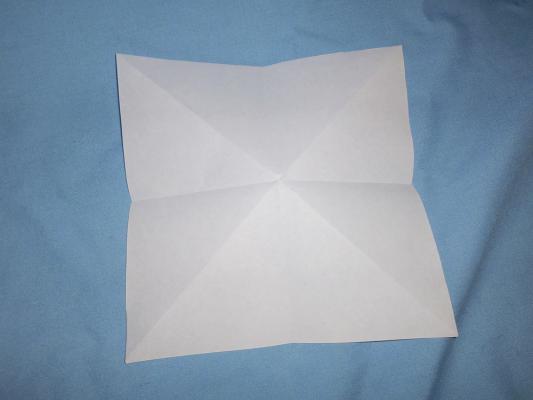
Take a square sheet of paper and fold it along all four symmetry axes. I recommend to fold the diagonals in both directions.
-
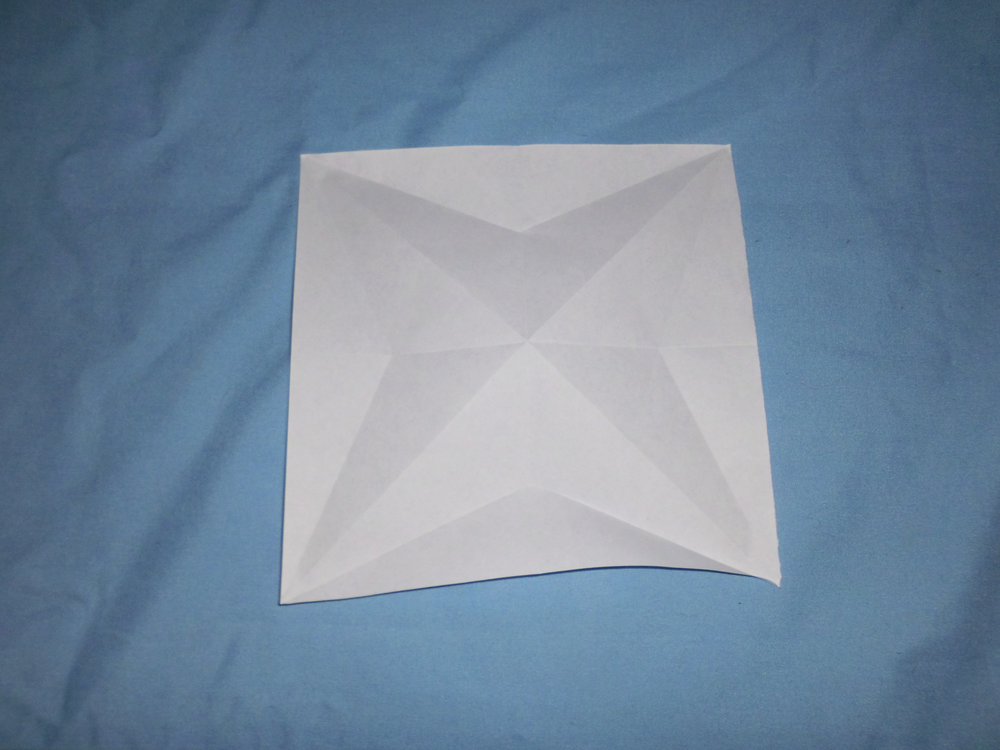
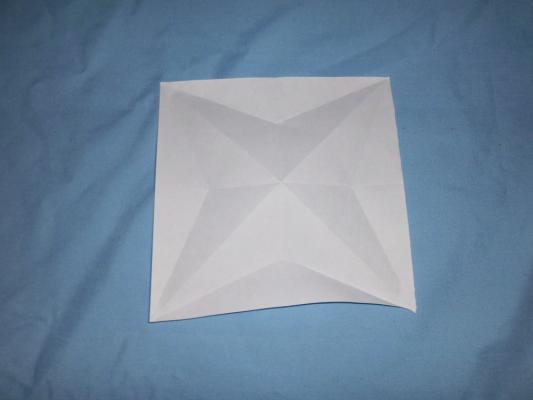
Put the edges of the sheet on top of the diagonals (all eight possibilities) and crease the paper from the corner till the middle axis:
-
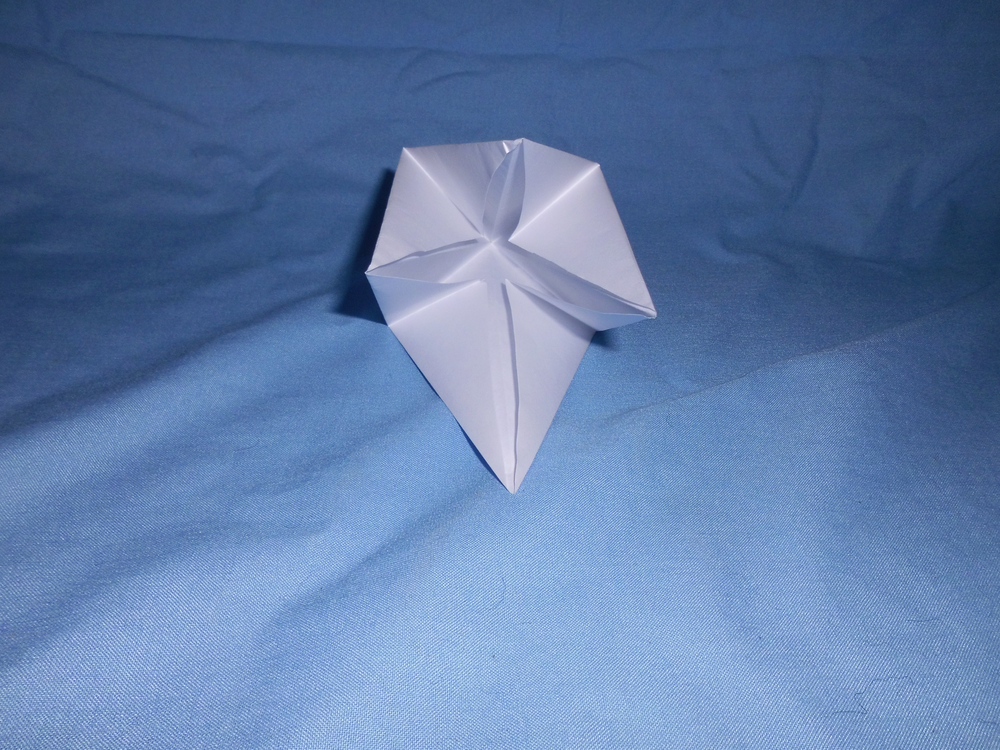
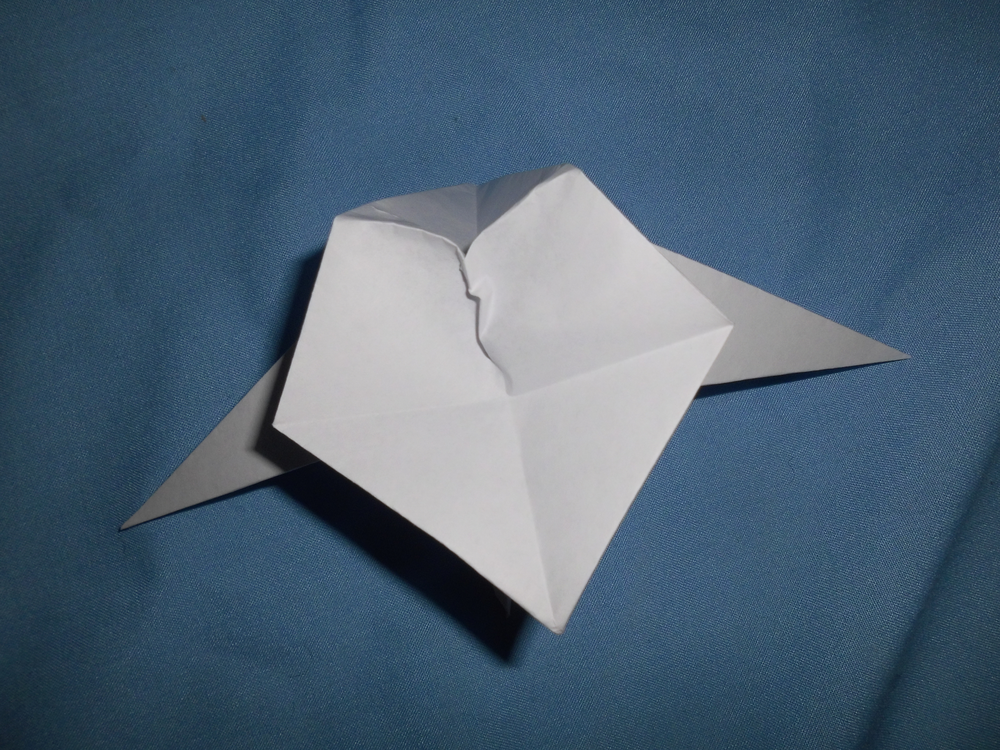
Use the folds just made to shape the paper as shown:
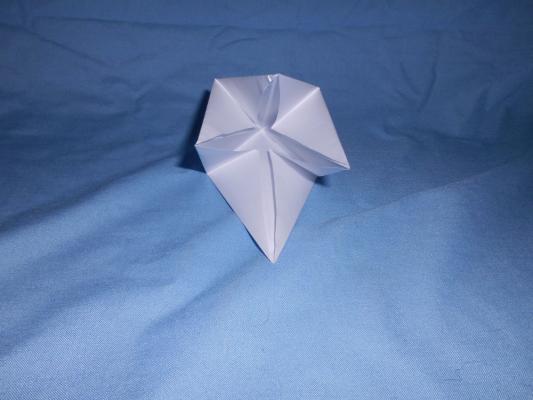
It is a form with four tips. -
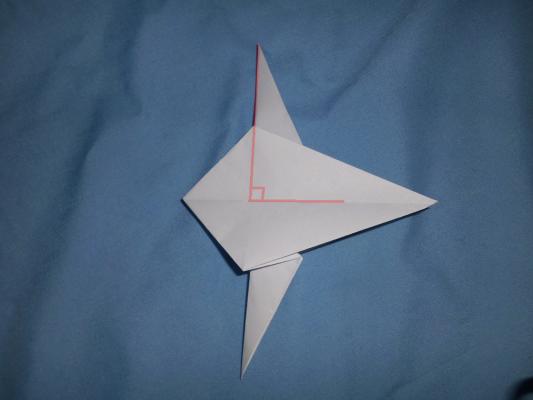
Choose two opposing tips and fold them outward as shown
(reverse fold):
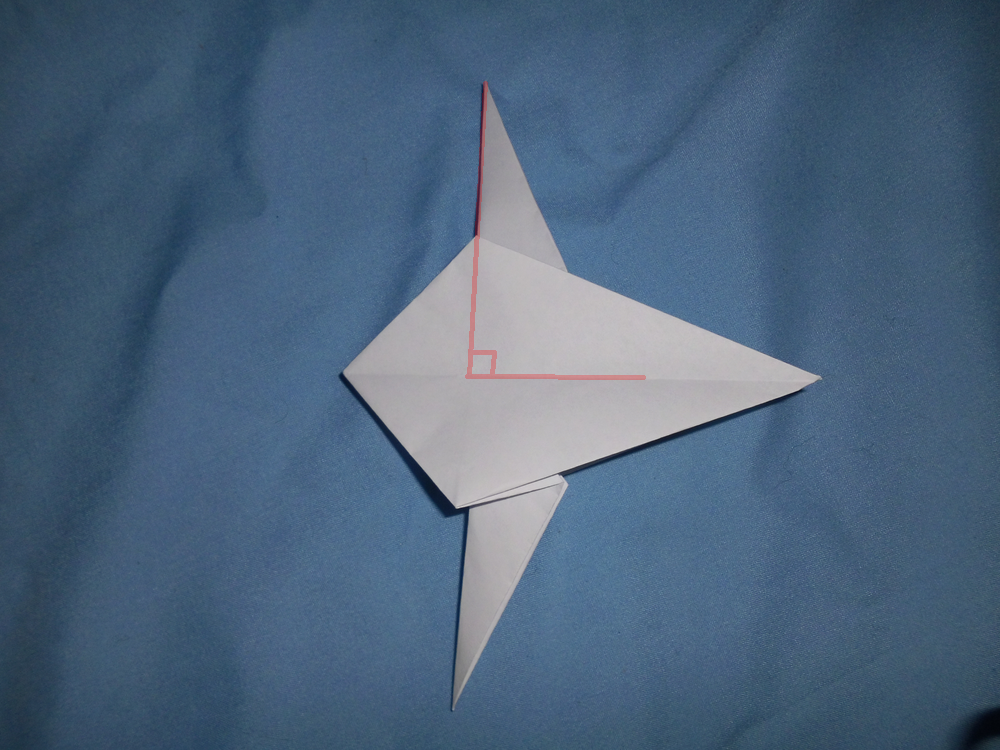
When viewed from above, the shown right angle should appear:
Because such a reverse fold changes the direction of the diagonal fold, it made sense to crease the diagonals in both directions. -
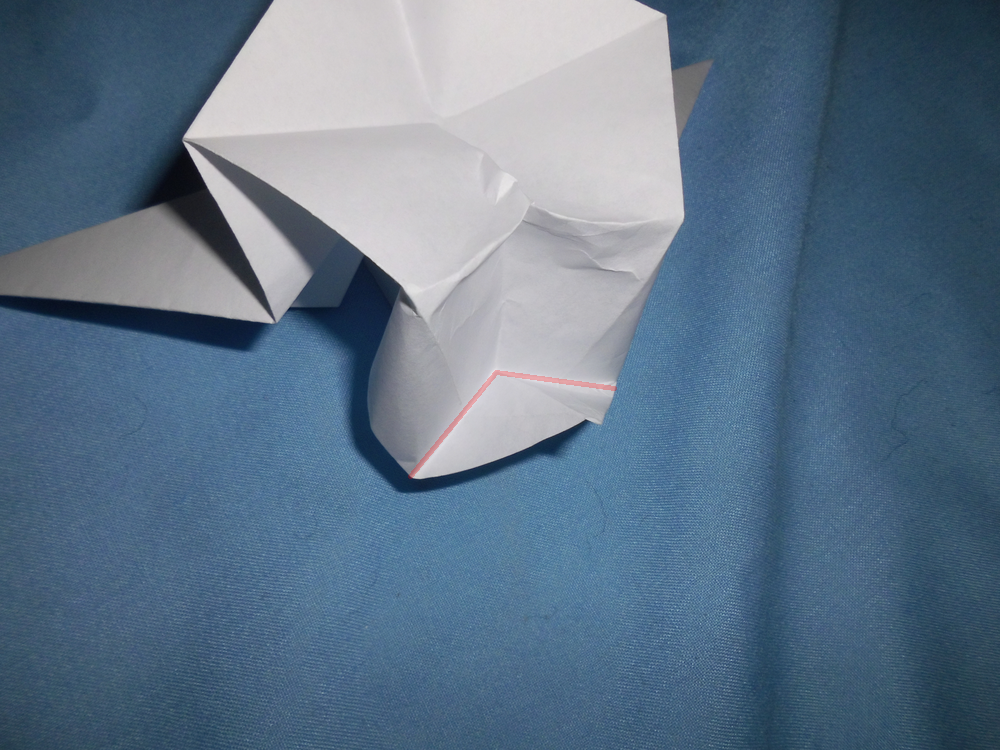
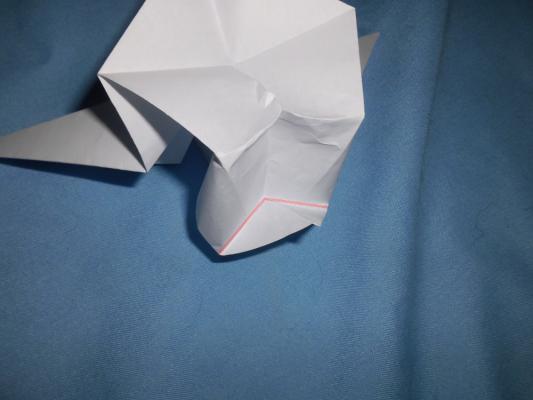
Take one of the other two tips and fold it backwards with a reverse fold, as shown:
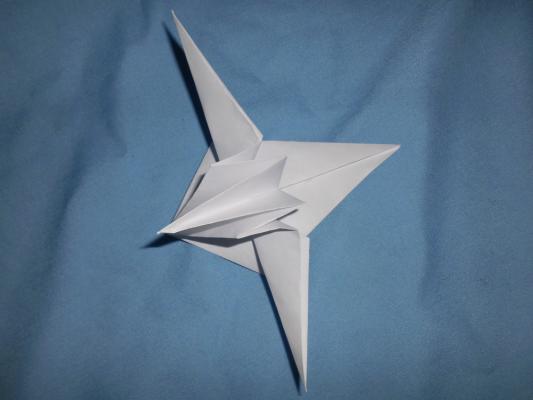
The two lines marked in red in the following image should come to lie on top of each other:

-
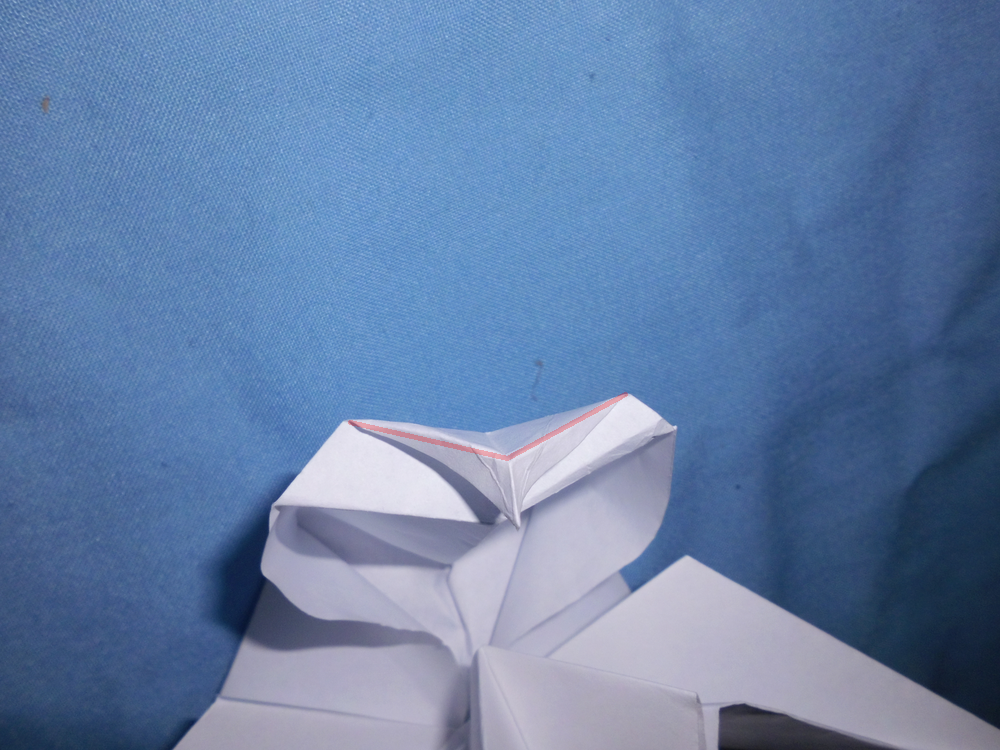
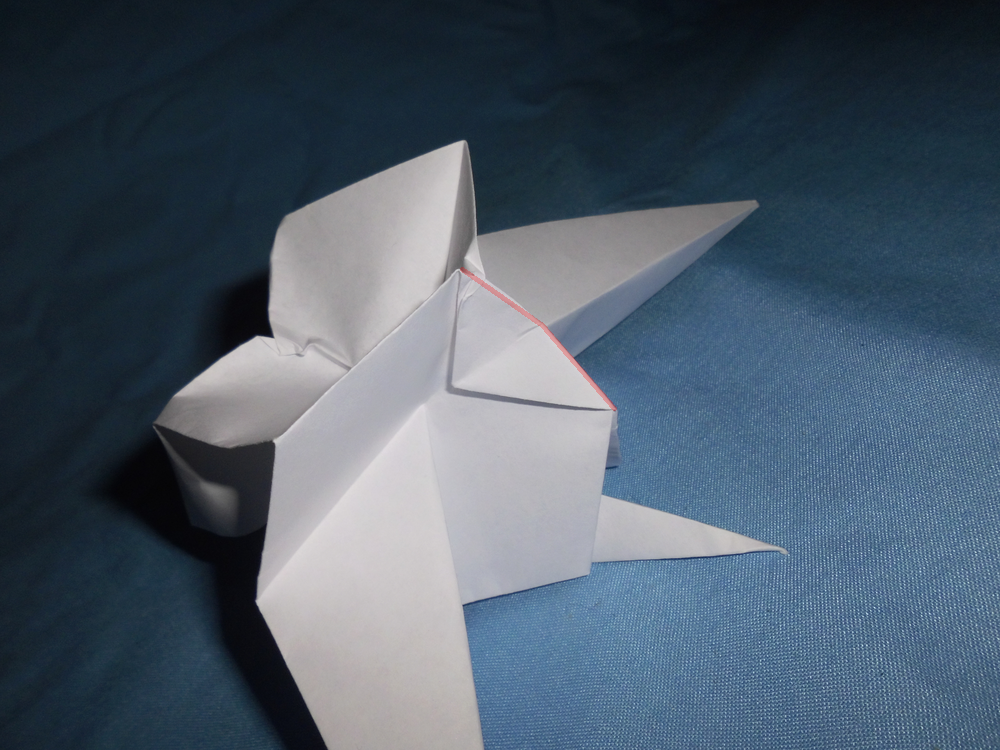
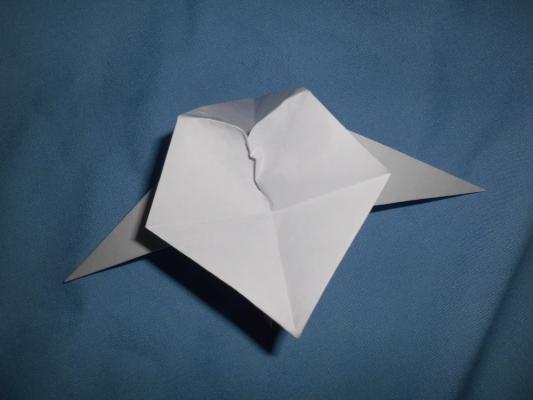
Now we make the head. Fold the last remaining tip along the red lines:
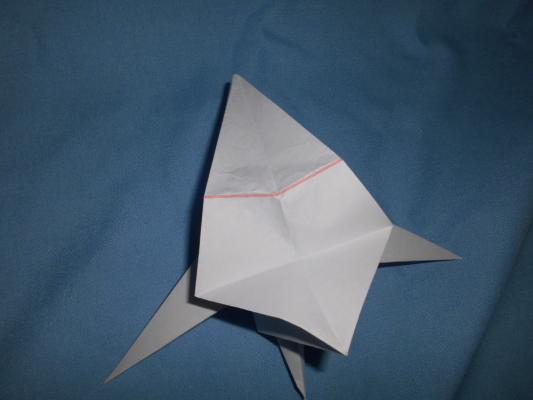
Important: Crease only the outside layer. The layer on the other side remains uncreased, so that it bulges:
-
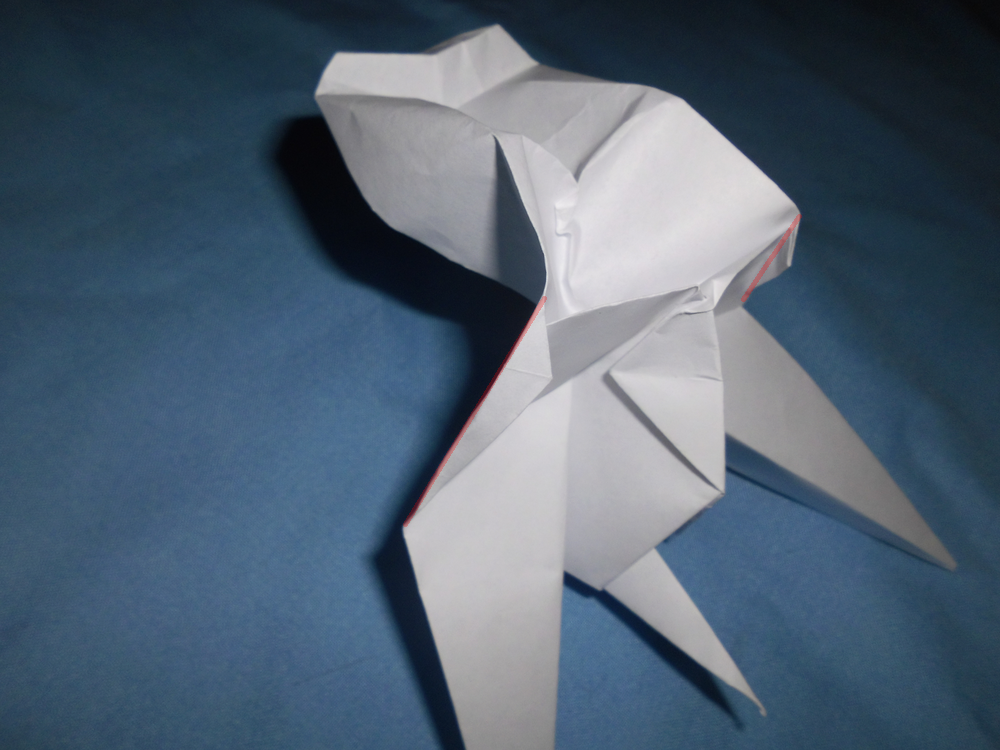
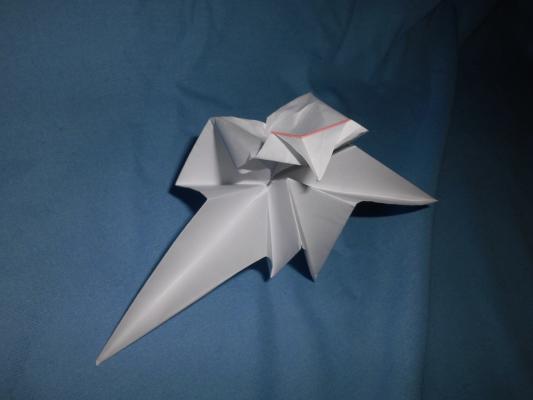
Strengthen the creases a little:
-
Fold the front of the head backward:
-
... and fold a part of it forward:
-
... and fold a part of that again forward/downward:

-
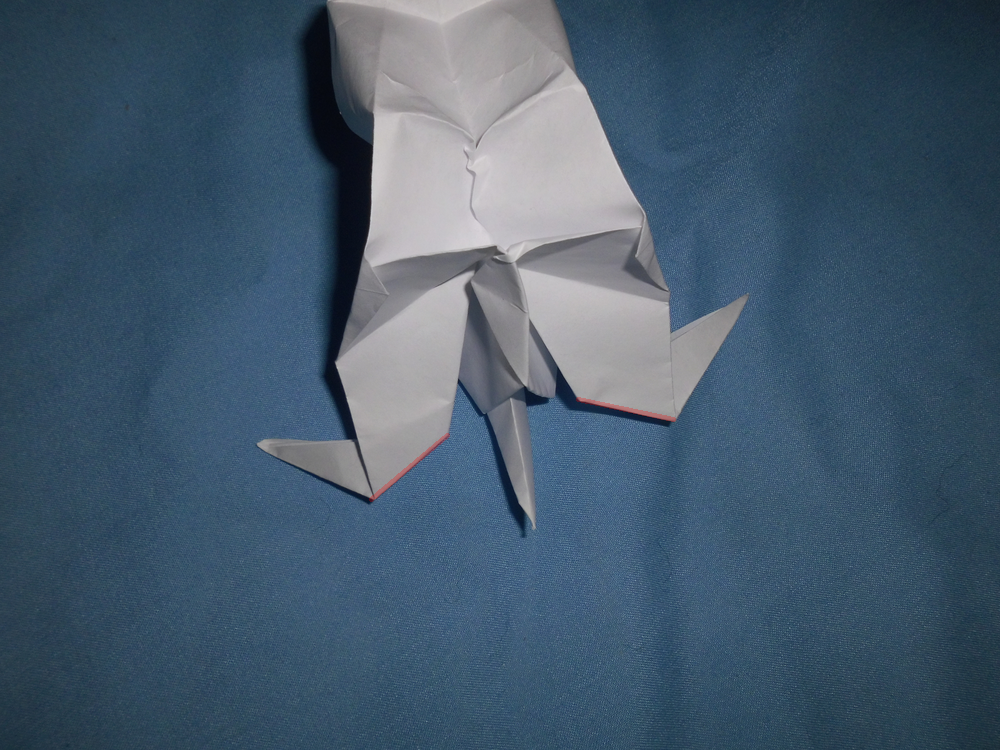
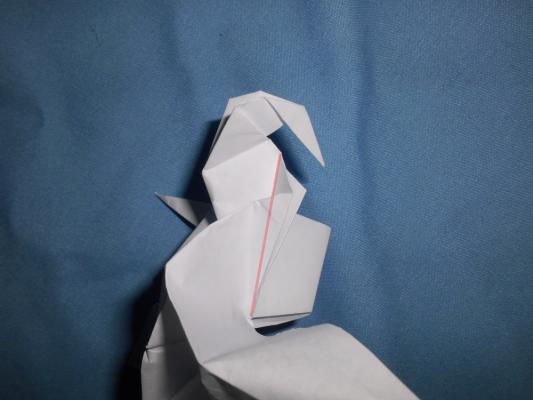
On the backside there is a corner (the midpoint of the paper). Pinch it sideways and fold it to one side, so that the neck stays in shape:

-
At the
shoulders
, fold backwards as shown, so that the head stays up:
-
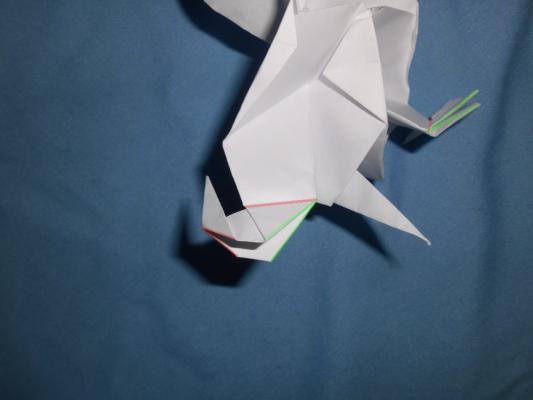
Fold the arms forward:

You cannot see it here, but these are reverse folds. In the next image you can see it better; there the creases made in this step are highlighted again in green. -
Fold the arms upward at a right angle using a valley fold (single red line), so that the rest of the arm is aligned vertically, and turn
the arms' tips downward using an outside reverse fold (red line pair):

-
To stabilize the arms, fold over their fronts upward:
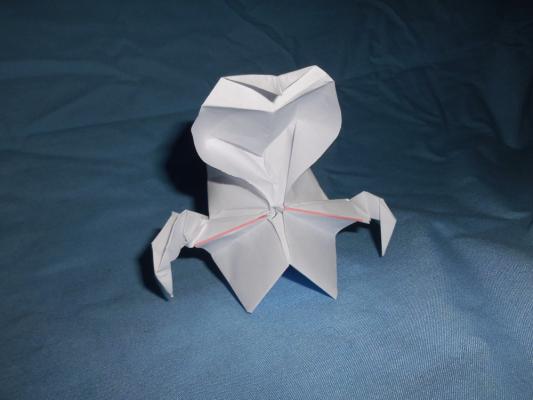
Done!