Blooms
are zoetropes and an
invention by John Edmark.
A rotating sculpture is illuminated by a strobe light, so that after each rotation through the
Golden Angle a flash of light strikes the sculpture.
The sculpture itself consists of many elements that are arranged so that after a rotation through the golden angle each element is replaced by another element at almost the same location and in almost the same state. Due to the strobe light it looks as if each element had changed only a little; an animation emerges that is performed by all elements of the sculpture simultaneously, and each element represents another frame in the animation. By using the golden angle, one achieves an especially even distribution of elements.
In the sculpture that I designed for my zoetrope, the elements are little arrows on the surface of a body that is a cylinder with half a torus on top. In the animation, the arrows seem to pour out from the middle of the torus and then slowly travel down the cylinder wall. While doing this, they also move in the direction in which they point, clockwise or counterclockwise around the cylinder. This direction changes a few times: The arrowhead shrinks and disappears, while on the other side of the shaft a new one appears. Thus, the cylinder wall is divided into several zones, in each of which the arrows move in one direction.
The following video gives an impression of what it looks like. However, the strobe light could not be recorded correctly, hence the video is flickering a lot:
(mp4, webm, YouTube)
Here is a non-flickering but computer generated video:
(mp4, webm, YouTube)
Tips for building your own
Aside from referring to other instructions available online,
I want to present here a few details about my implementation of the Bloom
concept.
The sculpture with the arrows I have had 3D printed at shapeways. I have generated the geometry data using a small Java program which I wrote just for my 3D printing experiments. For the turntable with strobe light I used:
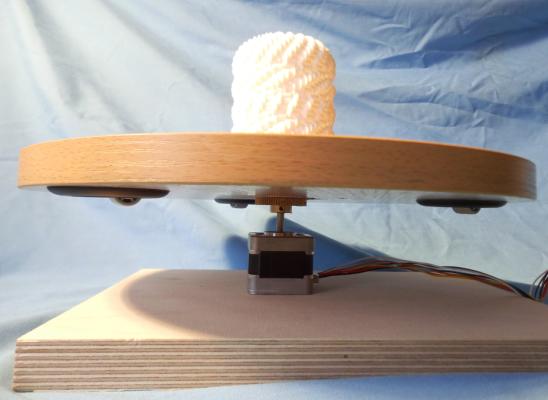
- Turntable
- A wooden board for support
- Glued on top: A stepper motor
- On the motor's axis: A cogwheel
- Glued to the cogwheel: A wooden disk
- Hot glue for attaching the sculpture
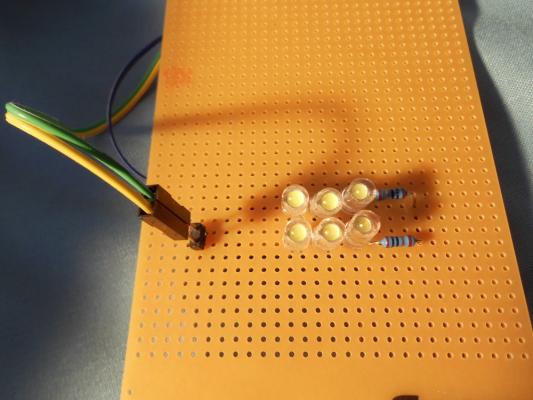
- Strobe
- A breadboard
- Six bright white LEDs (twice three connected in series with a resistor)
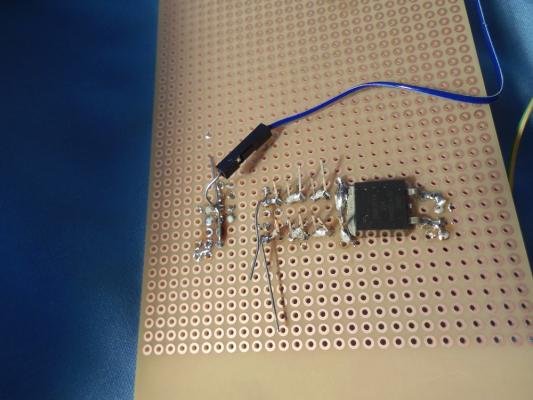
- A transistor (I used a BUK7614)
- Solder, jump wires and pin headers
- To run the strobe, the gate of the transistor should be connected to pin 5 of the appropriately programmed Arduino, and the drain should be conneted to
GND. The LEDs and resistors are on one end connected to the transistor's source and on the other end toVinof the Arduino.
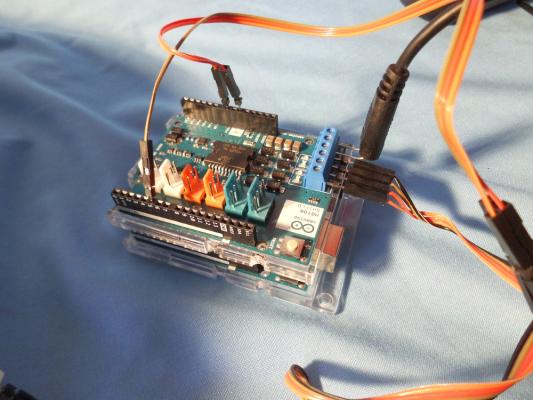
- Controller
- An Arduino
- An Arduino motor shield with 12 V power supply
- Jump wires
- Using an USB connection, the Arduino can be loaded with this program in order to control turntable and strobe synchronously.